How to Use Meshmixer to Prepare Files for 3D Printing
Meshmixer is a free 3D printing software program that you should use to edit and put together designs for 3D printing. The software program has a easy, user-friendly interface and is appropriate with Home windows and MacOS. Even when you use one of many greatest 3D printers, design flaws can complicate printing and result in print failure. Therefore, inspecting and analyzing the file earlier than you slice it or hit the print button to make sure no errors is all the time important. Additionally, in case you have 3D scans that you just wish to 3D print, you have to to scrub them up, as there could be surfaces or objects that the scanner may need captured that aren’t a part of the item. That’s the place Meshmixer comes into play.
Meshmixer gives varied instruments that you should use to research, determine, and repair frequent geometric design issues, equivalent to non-manifold edges and intersecting faces. It additionally permits you to fill your 3D fashions, add helps, and even break up or scale them.
The software program is straightforward to make use of, and it has a user-friendly interface. Under, we cowl every part you have to find out about utilizing this software program to organize your 3D fashions or 3D scans for 3D printing. However earlier than that, obtain Meshmixer set up and launch it.
Importing and Modifying the 3D Mannequin
Importing and Modifying the 3D Mannequin
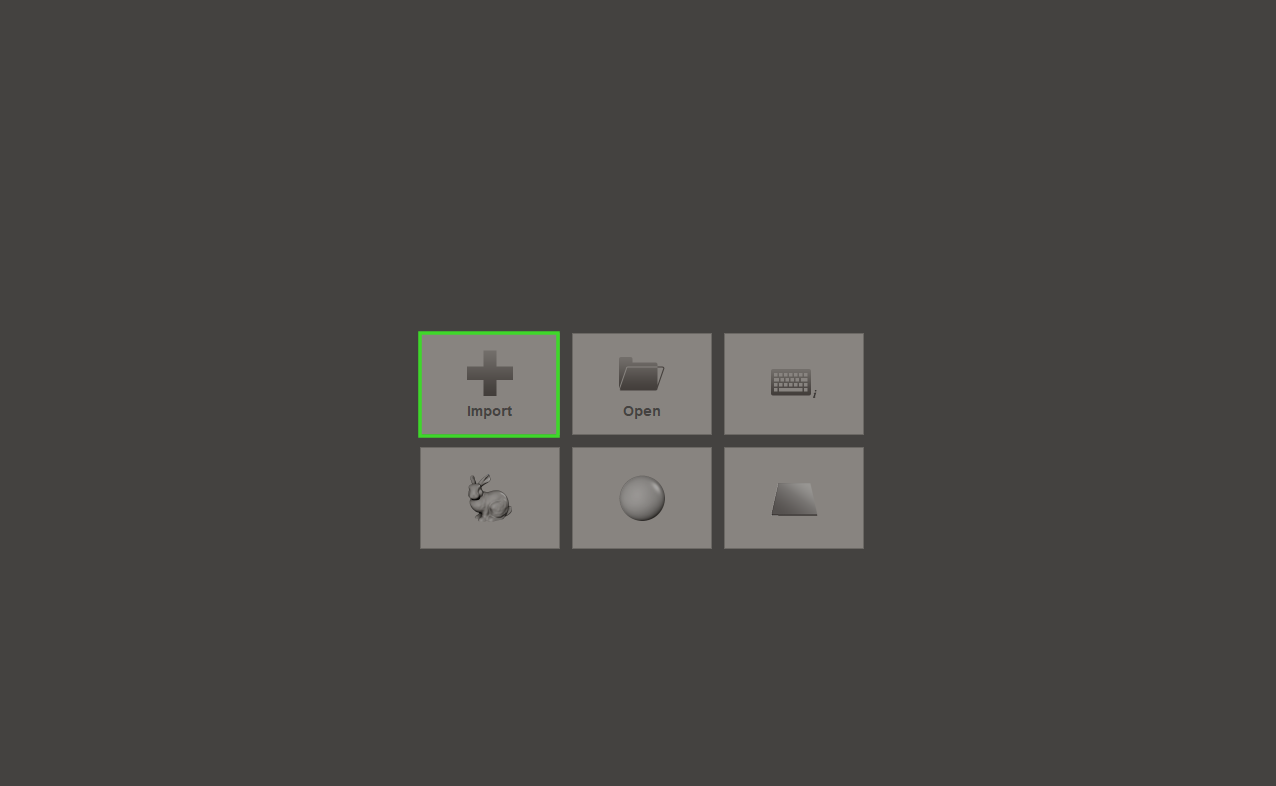
1. Click on the “Import” button. This may take you to your laptop, the place you’ll be able to go to the place you’ve got saved your file and import it. Meshmixer helps the vast majority of frequent file codecs.

2. To begin modifying your 3D mannequin, go to the Edit tab and click on it. A brand new window will launch the place you could find varied instruments for modifying your file, like scaling, rotating, orienting, splitting, aligning, making the mannequin hole and strong, and lots of different operations. The Mirror and Duplicate choices are the primary on the Edit tab’s prime part. The mirror operate permits you to create a symmetrical copy of your 3D mannequin or a particular a part of it alongside your chosen axis. The duplicate choice lets you create an actual copy or duplicate of your complete mannequin or a particular half. This helps replicate the design or testing modifications with out altering the unique file.
After the Duplicate choice, you discover the Rework choice, which incorporates varied choices for adjusting the geometry of your 3D mannequin. Once you click on on it, you will notice an choice to rotate, scale, and even resize the mannequin. That is essential for making ready your mannequin for particular print dimensions and making certain that your design is appropriately oriented to attenuate the necessity for 3D printing helps.
The Align choice follows the Rework choice. It helps you place and orient a number of elements or objects relative to one another throughout the workspace. That is useful while you wish to assemble advanced fashions from varied elements and guarantee they match collectively accurately.
Once you click on on this instrument, you will notice a number of choices: Supply of alignment, vacation spot, and transformation.

Within the supply choice, you’ll be able to align utilizing a reference level like base level, middle level (the default choice), floor level, floor scribble, or pivot. We will use the information under to exhibit how every choice works.

Once you select Base Level, the mannequin can be aligned utilizing the bottom because the reference level. You may not have the ability to see many modifications, particularly when aligned like our instance above, however it’s useful while you wish to be sure that the underside surfaces of the a number of objects are stage and aligned on the identical airplane. This ensures that the objects relaxation firmly on the construct plate when 3D printing.
Middle Level is the default choice that aligns the objects primarily based on their geometric facilities. That is useful when you have to be sure that the central factors of a number of objects are aligned.

In Floor Level, Meshmixer aligns the objects utilizing a particular level on the mannequin’s floor. That is useful while you wish to align advanced shapes and even place one half exactly relative to a specific characteristic within the design. You’ll be able to choose any level on the floor to function the alignment reference.
Floor Scribble lets you align the objects utilizing a drawn scribble on the design’s floor. You begin by drawing a scribble on the floor of your design that you have to align, after which the software program will match these scribbles to align the elements. That is helpful in case your mannequin has a flat floor and also you need it to put flat. To align it, we will choose the Floor Scripple choice, then draw a circle on the flat floor and launch it. If the design is flipped, you click on on the examine field written Flip.

The ultimate choice is the Pivot, which makes use of the mannequin’s pivot level as a reference for alignment. Every reference level gives totally different ranges of management and precision, permitting you to align fashions in ways in which greatest fit your particular design and printing wants. Different edit choices in Meshmixer are mentioned under.
Utilizing Airplane Lower to Cut up 3D Fashions in Meshmixer
Utilizing Airplane Lower to Cut up 3D Fashions in Meshmixer
You may want to separate your 3D mannequin for varied causes. One is to have the mannequin slot in your constructed plate, as many 3D printers have measurement limitations. Additionally, in case your file has overhangs and also you don’t wish to use helps, you’ll be able to select to separate it. Comply with the steps under to discover ways to use the airplane reduce instrument to attain that.
1. Go to Edit, then Select Airplane Lower. You will note a airplane showing you can transfer utilizing the factors till the part you wish to reduce or break up from.

2. Within the Lower Sort part, you’ll be able to maintain each information or just one. For this demonstration, I’ve chosen to discard one after which verify the reduce.

3. You may also regulate the airplane’s place by clicking and dragging the arrows and rings that seem on the mannequin. For instance, after rotating and accepting the reduce for the above, I acquired the design under.

4. In case you had chosen to retain the opposite half when performing the reduce, go to Edit, then select Separate Shells. After clicking on it, choose one a part of your design, then go to Export and put it aside in your laptop. You may also do the identical to the opposite half.
Hollowing and Making the 3D Mannequin Strong
Hollowing and Making the 3D Mannequin Strong
Hollowing a 3D mannequin reduces the fabric wanted for 3D printing, which may additionally assist with value financial savings, particularly for giant fashions. Additionally, hole designs are usually lighter, and dealing with them is less complicated. To comply with the 3D mannequin;
1. Go to Edit > Hole and wait just a few seconds because the Meshmixer processes. It’s going to routinely add a thickness to your mannequin primarily based on the default parameters.

2. Modify the wall thickness utilizing the Offset Distance choice within the new window that launches. This determines the quantity of the hollowed half, and the default worth is 2mm. As you regulate the wall thickness, you could do not forget that partitions which are too skinny will make your mannequin fragile, particularly giant ones, as there can be no inner construction within the hole print. It’s really helpful to make use of a worth between 1 and 2mm
3. Preview the hole settings by clicking on the Replace Hole choice.
4. Strong Accuracy and Mesh Density choices specify the inside surfaces’ particulars and accuracy. You’ll be able to retain the default values.
5. You’ll be able to add holes by clicking on the Generate Holes choice after which specifying their measurement by adjusting the Holes radius values. These escape holes are useful if you find yourself 3D printing with resin, because the resin will escape from these locations.
6. You’ll be able to manually place the holes by clicking and dragging the crimson spheres on the mannequin.

When glad with the settings, click on Settle for to finalize the hollowing course of.
Making the Mannequin Strong
Making the Mannequin Strong
Making a 3D mannequin strong is crucial in making certain that the integrity and accuracy of the mannequin are maintained, because it captures the whole geometry of the item. It additionally eliminates inner weaknesses and voids that compromise the energy of the design. To make the mannequin strong in Meshmixer,
1. Go to Edit, then Make Strong.
2. Within the window that launches, select a solidify sort. There are 4 choices: Blocky, Quick, Correct, and Sharp Edge Protect.
3. The Blocky choice creates a strong mannequin that’s blocky in look and has a low decision. It’s quick and the outcomes are much less correct, and it’s appropriate for designs wherein many particulars aren’t wanted.

Quick choice is helpful while you want a mannequin rapidly, and though it creates a strong, it will not be as watertight because the correct choice. Correct choice is probably the most really helpful choice because it generates a high-quality and watertight design. It takes quite a lot of time to course of, nevertheless it produces the mannequin with a greater decision and high quality, as proven under.

Sharp Edge Protect maintains the sharp edges and particulars within the mannequin whereas making it strong. That is helpful when engaged on architectural or mechanical elements fashions.
4. You’ll be able to regulate different settings, equivalent to Strong Accuracy and Mesh Density, then click on Replace. If you end up glad with the settings, click on Finalize.
Inspecting the Mannequin and Fixing Meshes
Inspecting the Mannequin and Fixing Meshes
Meshmixer comes with Inspector instrument that helps determine and restore points in 3D fashions. It analyzes the design and detects any potential issues that may forestall it from profitable 3D printing. These points embody gaps and holes, points with the geometry, and even skinny partitions. It highlights these points with coloured pins or spheres.
Comply with the steps under to research and repair 3D fashions in Meshmixer.
1. Go to the Evaluation tab, which is discovered on the left toolbar, after which choose Inspector. You will note a brand new window launching on the top-left part of the interface.
2. After checking the design, you will notice if there are any points. In my case, the world with a problem is highlighted utilizing Magento shade, as proven under.

3. You’ll be able to select the Gap Fill Mode from the highest left window. Three choices can be found: Minimal Fill, Flat Fill, and Clean Fill. Because the title suggests, Minimal Fill fills the holes with the minimal quantity of geometry. It’s the quickest technique, although it may not mix effectively with the encircling geometry. Flat Fill creates a flat fill that matches the encircling, and Clean Fill creates a blended fill that matches the encircling mesh. It’s the most really helpful.
4. To repair the error, you’ll be able to both click on the coloured sphere marker, or you’ll be able to click on Auto Restore All.
5. Return to the Inspector instrument, examine for errors, and repeat the method. If there are not any points, click on Executed.
Working With Helps in Meshmixer
Working With Helps in Meshmixer
1. Correctly place your 3D mannequin within the workspace by going to View after which clicking Present Printer Mattress.
2. Verify in case your design wants helps by going to Evaluation, then Overhangs.

The instrument will spotlight the areas of the mannequin which have overhangs and require helps utilizing crimson and blue colours.

3. Click on Generate Assist to routinely add help constructions to your 3D mannequin.

3. You’ll be able to customise the helps primarily based in your necessities. For instance, so as to add customized help, you left-click and drag from an overhang space or present help to the construct plate and maintain the shift key in your keyboard earlier than releasing.

4. You’ll be able to delete the helps by holding the CTRL or CMD key in your keyboard and clicking on them.
3D Sculpting in Meshmixer
3D Sculpting in Meshmixer
Meshmixer comes with highly effective sculpting instruments that you should use to refine the small print of the mannequin. To sculpt your information, comply with the steps under.
1. Click on Sculpt choice to open the sculpting workspace.
2. Choose a brush from the sculpting toolbar. There are a number of obtainable, and every one serves a particular goal. There are these for smoothing, pinching, drawing, shifting, and lots of others.

3. Modify the comb measurement by shifting the Measurement slider within the Properties part. A smaller brush is best for detailed work, and a bigger one is sweet when engaged on a extra in depth space. The Power choice controls the depth of the impact of the comb. You’ll be able to management the quantity of fabric added or eliminated while you use the comb by adjusting the Depth choice. Laziness setting, alternatively, helps easy out the comb strokes.
4. Begin sculpting if you find yourself comfy with the settings. As you sculpt, zoom in and rotate your design to concentrate on particular areas. You may also swap between totally different brushes till you obtain your supposed design.
Along with the above instruments, Meshmixer has different instruments like Stamp that will let you add patterns or shapes on the floor of your 3D mannequin. There may be additionally 3D print choice wherein a number of 3D printing providers can be found to ship your file and have it printed.